Spring boot AWS Lightsail https 무료 설정하기
- 웹 개발
- 2023. 4. 20.
무료 SSL 인증서 발급하기
위의 링크로 가서 자신의 도메인을 입력해 준다.

Create Free SSL Certificate 클릭 후

아무렇게나 입력해도 된다

다시 도메인을 입력 후 Next Step 클릭!

무료는 90일만 가능하다 다음 클릭

다음 클릭

free 선택 후 다음 클릭

나는 http file upload 방식을 할거다
auth file을 다운로드 해주고

static 폴더 안에 이렇게 만들어주고 파일을 넣어줬다.
그리고 로컬에서 서버 실행 후
http://localhost:8080/.well-known/pki-validation/{파일이름.txt} 경로 들어가보면

이런식으로 뜨게 된다.

다시 여기로 와서 다음을 눌러준다.

Verify Domain 클릭 하면 완료가 되면서 다른 페이지로 이동이 된다
(나는 이미 https 설정을 해놨기에 저렇게 뜬다)

여기서 조금 기다리다 보면
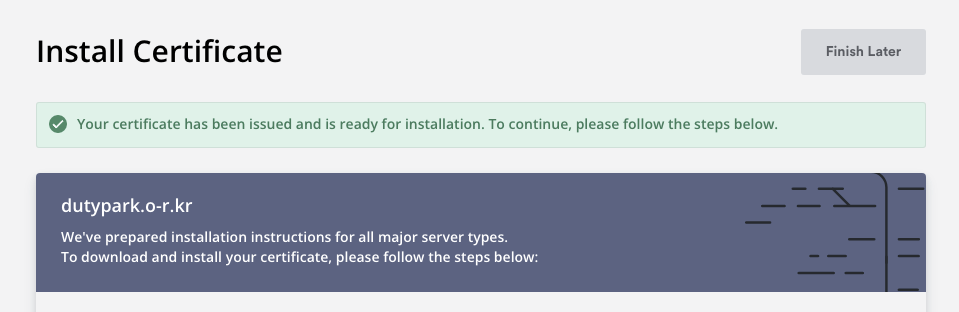
인증서 발급이 성공하게 된다.
인증서 발급 & 적용

Spring boot니까 Tomcat을 클릭 후
Download Certificate 클릭 해준다.

그럼 이렇게 3가지의 파일이 나온다.
ssl 인증서를 Java keystore로 변환해줄거다
cmd를 켜서 다운로드 폴더로 이동해준다.
openssl pkcs12 -export -out keystore.p12 -inkey private.key -in certificate.crt -certfile ca_bundle.crt위에 명령어를 입력해주면 비밀번호를 입력하라고 나온다.
잊어먹지 않는 비밀번호로 설정 후 엔터를 누르면
keystore.p12 파일이 생성이 된다.

resources/keystore.p12로 이동시켜준다.
그리고 application.properties에서

이렇게 설정 후 서버를 실행 시켜보자.
로컬에서 실행하면 인증서에 문제가 있다고 경고창이 뜰거다.
이러면 정상적으로 잘 된거다
그리고 이제 http랑 https 둘 다 접속이 가능하니
http로 접속하면 https로 리다이렉트 되게끔 해줄거다.
implementation 'org.springframework.boot:spring-boot-starter-security'스프링 security 추가 해준 후에
import org.springframework.context.annotation.Bean;
import org.springframework.context.annotation.Configuration;
import org.springframework.security.config.annotation.web.builders.HttpSecurity;
import org.springframework.security.web.SecurityFilterChain;

@Configuration
public class SecurityConfig {

    @Bean
    SecurityFilterChain filterChain(HttpSecurity http) throws Exception {
        return http.requiresChannel(channel -> channel.anyRequest().requiresSecure())
                .authorizeHttpRequests(authorize -> authorize.anyRequest().permitAll())
                .build();
    }
}
이렇게 설정해준다.
그리고 이제 https 포트를 열어줘야 한다.

443 포트를 열어주고
서버에서 포트포워딩을 해줄거다
443 포트로 들어오면 8080으로 들어오게끔
sudo iptables -A PREROUTING -t nat -i eth0 -p tcp --dport 443 -j REDIRECT --to-port 8080
서버에서 입력해주면 완성이 된다.
이제 서버 실행시켜주면 자물쇠가 뜨는것을 볼 수 있다.