Spring boot Rest Docs 사용하기
- 웹 개발
- 2023. 7. 31.
- Java 17
- Spring boot 3.0.5
- Gradle 8.1.1
Rest Docs 환경 설정
plugins {
	id 'org.asciidoctor.jvm.convert' version '3.3.2'
}

Asciidoctor 파일을 컨버팅하고 Build 폴더에 복사하기 위한 플러그인

configurations {
	asciidoctorExt
}

asciidoctorExt를 configurations로 지정

dependencies {
	testImplementation 'org.springframework.restdocs:spring-restdocs-mockmvc'
	testImplementation 'org.springframework.security:spring-security-test'
	asciidoctorExt 'org.springframework.restdocs:spring-restdocs-asciidoctor'
}

adoc파일에서 사용할 snippets 속성이 자동으로 build/generated-snippets를 가리키도록 해줌

ext {
	set('snippetsDir', file("build/generated-snippets"))
}

snippets 파일이 저장될 경로 snippetsDir로 변수 설정

test {
	outputs.dir snippetsDir
}

출력할 디렉토리를 snippertsDir로 설정

asciidoctor {
	configurations 'asciidoctorExt' // 1
	baseDirFollowsSourceFile() // 2
	inputs.dir snippetsDir // 3
	dependsOn test // 4
}

1 - Asciidoctor에서 asciidoctorExt 설정 사용
2 - .adoc파일에서 다른 .adoc를 include하여 사용하는 경우 경로를 baseDir로 동일하게 설정
3 - Input 디렉토리를 snippertsDir로 설정
4 - Gradle build시 test -> asciidoctor 순으로 진행된다.

asciidoctor.doFirst {
	delete file('src/main/resources/static/docs')
}

asciidoctor가 실행될 때 처음으로 해당 경로에 있는 파일들을 지운다

task createDocument(type: Copy) { // 1
	dependsOn asciidoctor // 2
	from file("build/docs/asciidoc")
	into file("src/main/resources/static")
}

1 - 실행 task를 정의하고 type을 복사로 정의
	from에 위치한 파일들을 into로 복사
2 - Gradle build시 asciidoctor -> createDocument 순으로 진행

bootJar {
	dependsOn createDocument // 1
	from("${asciidoctor.outputDir}") { // 2
		into 'static/docs'
	}
}

1 - Gradle build시 createDocument -> bootJar 순으로 진행된다
2 - Gradle build시 asciidoctor.outputDir에 html 파일이 생기고 이것을 jar안에 /resources/static 폴더에 복사
MockMvc를 이용한 테스트 코드 작성
초기 세팅
@SpringBootTest
@ExtendWith({RestDocumentationExtension.class, SpringExtension.class})
@Transactional
@Import(RestDocsConfiguration.class)
public class MyPostTest {

    @Autowired private RestDocumentationResultHandler restDocs;
    private MockMvc mockMvc;

    @BeforeEach
    void setUp(
            final WebApplicationContext context,
            final RestDocumentationContextProvider provider
    ) {
        this.mockMvc = MockMvcBuilders.webAppContextSetup(context)
                .apply(MockMvcRestDocumentation.documentationConfiguration(provider))
                .apply(SecurityMockMvcConfigurers.springSecurity()) // security 사용시에 작성
                .defaultRequest(get("/").header(HttpHeaders.HOST, "호스트 주소")) // 호스트 주소 기본값 설정
                .alwaysDo(restDocs)
                .build();
    }
}
Test 코드 작성시에 이게 초기 셋팅이다
여기서 @BeforeEach로 직접 수동 주입을 하기 싫다면
클래스 위에 @AutoConfigureMockMvc, @AutoConfigureRestDocs를 넣어주면 된다.
하지만 이렇게 할 시에 커스터마이징이 어렵다는 단접이 있다.
@AutoConfigureMockMvc
MockMvcBuilders.webAppContextSetup(context) 자동 생성해주고
@AutoConfigureRestDocs
MockMvcRestDocumentation.documentationConfiguration(provider) 자동 생성해준다.
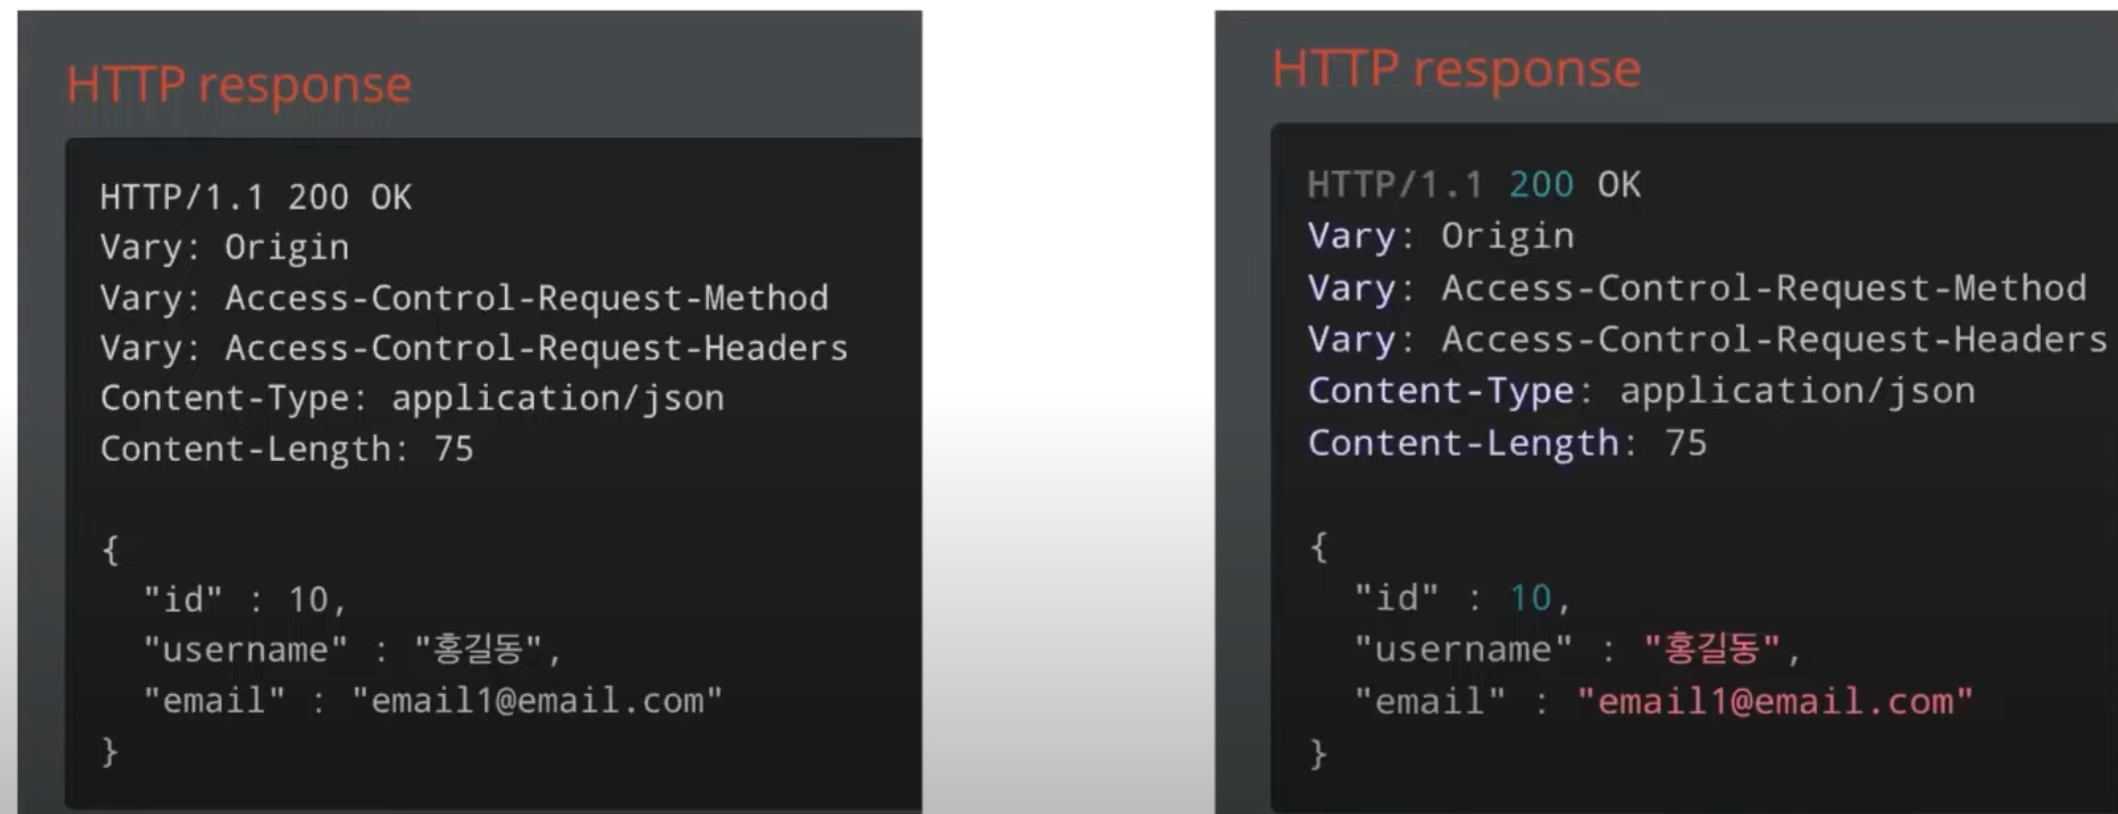
prettyPrint()
snippets을 이쁘게 가독성 있게 출력을 하고싶다면 prettyPrint()를 사용하면 된다.
prettyPrint를 사용 안했을때 json을 보면 그냥 출력이 된다.
prettyPrint를 사용하면 json이 보기 좋은 형식으로 출력이 된다
@TestConfiguration
public class RestDocsConfiguration {

    @Bean
    public RestDocumentationResultHandler write() {
        return MockMvcRestDocumentation.document(
                "{class-name}/{method-name}",
                Preprocessors.preprocessRequest(Preprocessors.prettyPrint()),
                Preprocessors.preprocessResponse(Preprocessors.prettyPrint())
        );
    }
}
{class-name}/{method-name} 으로 설정한건 Test 코드를 작성시에
adoc 파일들이 class-name 폴더 안에 method-name으로 자동 생성된다
테스트 코드 작성
mockMvc.perform(get("url 주소", "PathVariable 사용시 값") //get, post, delete, patch 기타등등
			.header(HttpHeaders.HOST, "Host 주소") // Host 주소 알려주기
			.header(HttpHeaders.AUTHORIZATION, "Bearer " + accessToken)) // JWT 토큰 추가
            .queryParam("쿼리 스트링 이름", "값") // 쿼리 스트링이 있을때
            .contentType(MediaType.APPLICATION_JSON) // json 타입 요청
            .content(dto json으로 변경) // 받을 json 데이터
        .andExpect(status().isOk()) // 예상하는 http 상태코드
        .andDo(restDocs.document( // 문서화 시작
        	requestHeaders(
            	headerWithName("설명할 헤더 부분 이름").description("설명").optional() // optional은 필수값이 아니라는 것
            ),
            queryParameters(
            	parameterWithName("쿼리스트림 이름").description("설명")
            ),
            pathParameters(
            	parameterWithName("PathVariable 사용시 이름").description("설명")
            ),
            requestFields(
            	fieldWithPath("json key").description("설명")
            ),
            responseFields(
            	fieldwithPath("응답 json key").description("설명")
            )
        ));
이렇게 복합적으로 다 적어놨다
사용하는것만 빼서 적으면 될거다
좀 더 어려운 API를 보자
응답 값 리스트에 객체가 있는 경우가 있다
.andDo(restDocs.document(
		responseFields(
        	fieldWithPath("json key").description("설명")
        ).andWithPrefix("리스트 key[].",
        	fieldWithPath("json key").description("설명")
        )
andWithPrefix로 설정해주면 된다.
perform 사용시 throws Exception 을 적어줘야 한다
이렇게 해서 테스트가 통과되면
터미널에 ./gradlew clean bootJar 입력해보자
그럼 build/generated-snippets 폴더안에 테스트한 결과가 나올거다
그럼 resources/static 안에 html 문서가 생겼을까?
결론은 아니다.
html 파일을 생성하기 위해서는 우리가 직접 adoc 파일에 어떤 항목을 가져올지 선택해줘야 한다.
결과로 .adoc 소스 파일명과 같은 이름의 html 문서가 생성된다
AsciiDoctor 문법 알아가기
.adoc 파일은 src/docs/asciidoc 파일에 .adoc 파일을 생성해줘야 한다
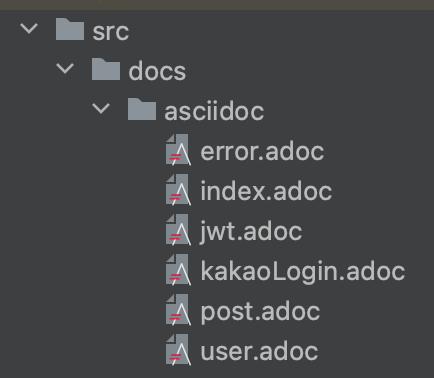
이런식으로 말이다
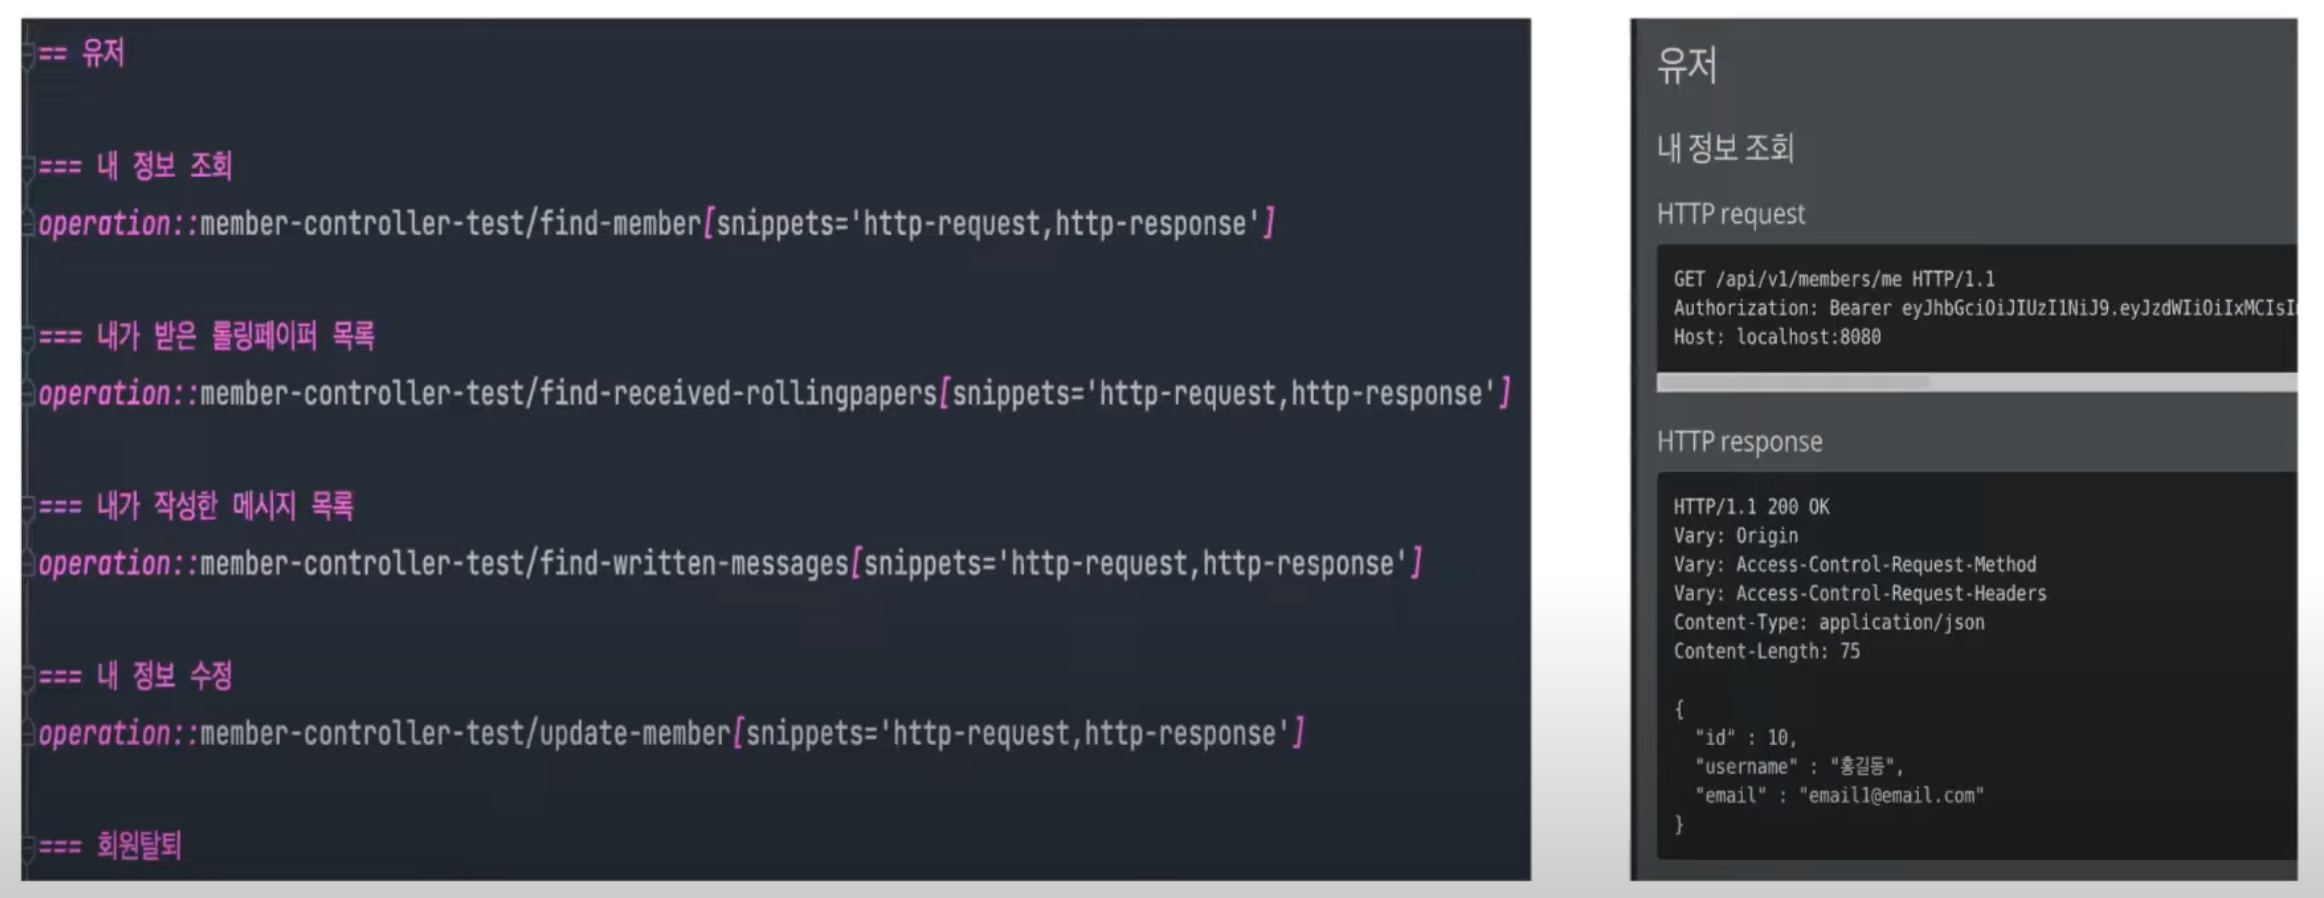
먼저 index.adoc를 살펴보자
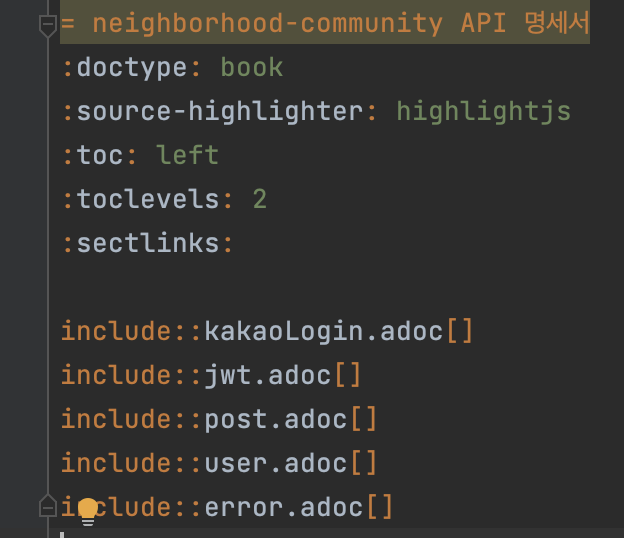
이렇게 알수없는것들이 있다
html 미리보기를 보면
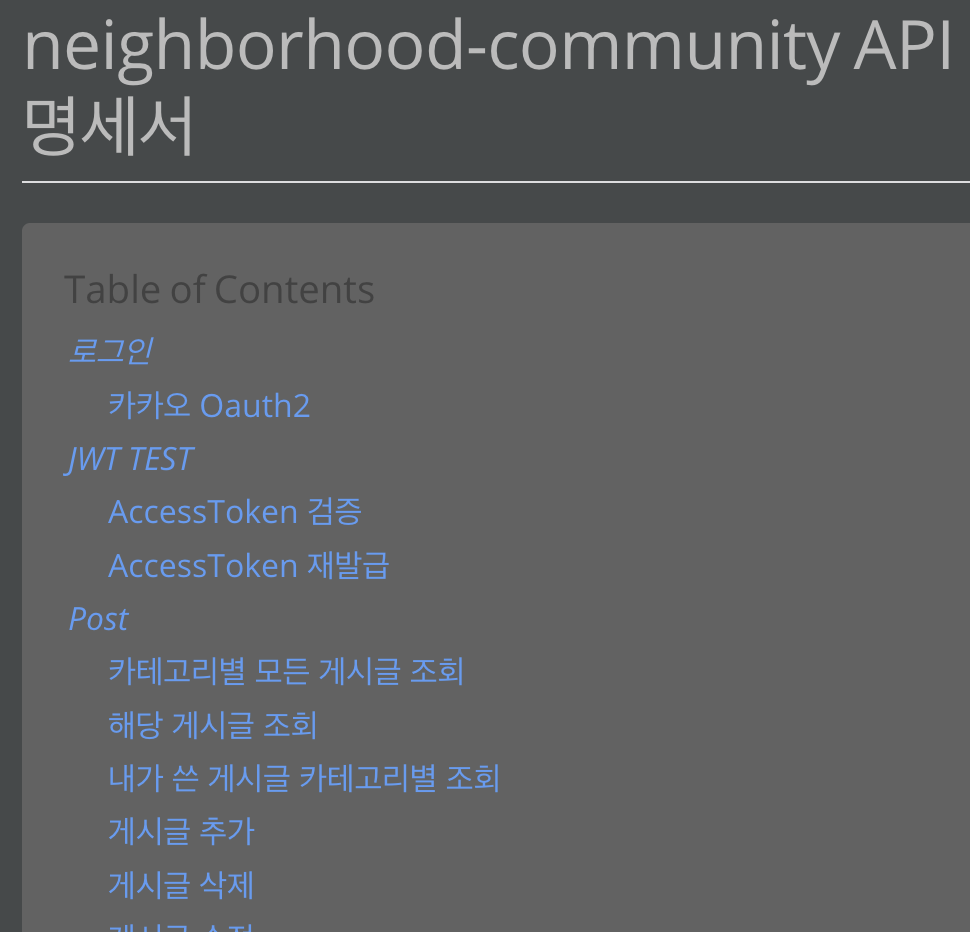
이렇게 나오게 된다
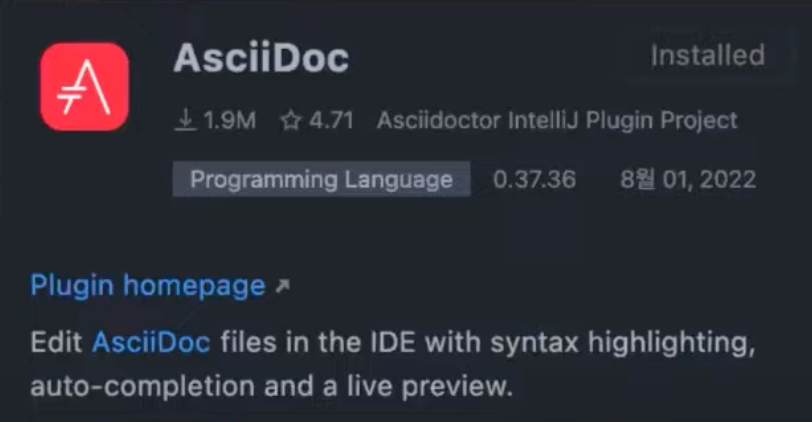
미리보기를 하려면 intelliJ에 maket에서 AsciiDoc 플러그인을 설치하면 볼 수 있다
1. =, ==, ===
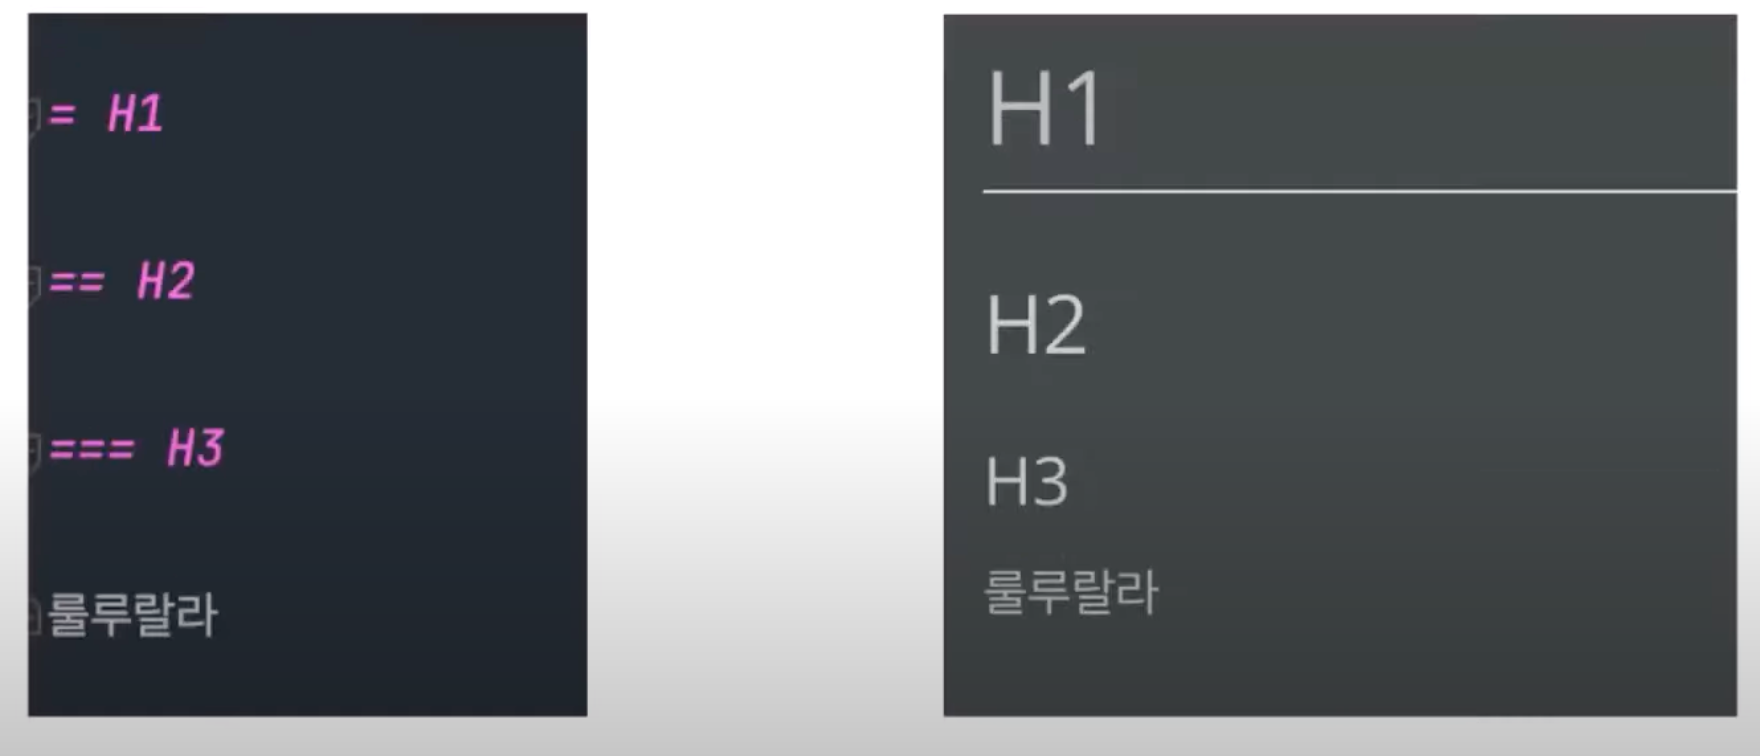
2. :source-highlighter: highlightjs
3. :toc: left
왼쪽 메뉴가 left, right, up 으로 설정할 수 있다
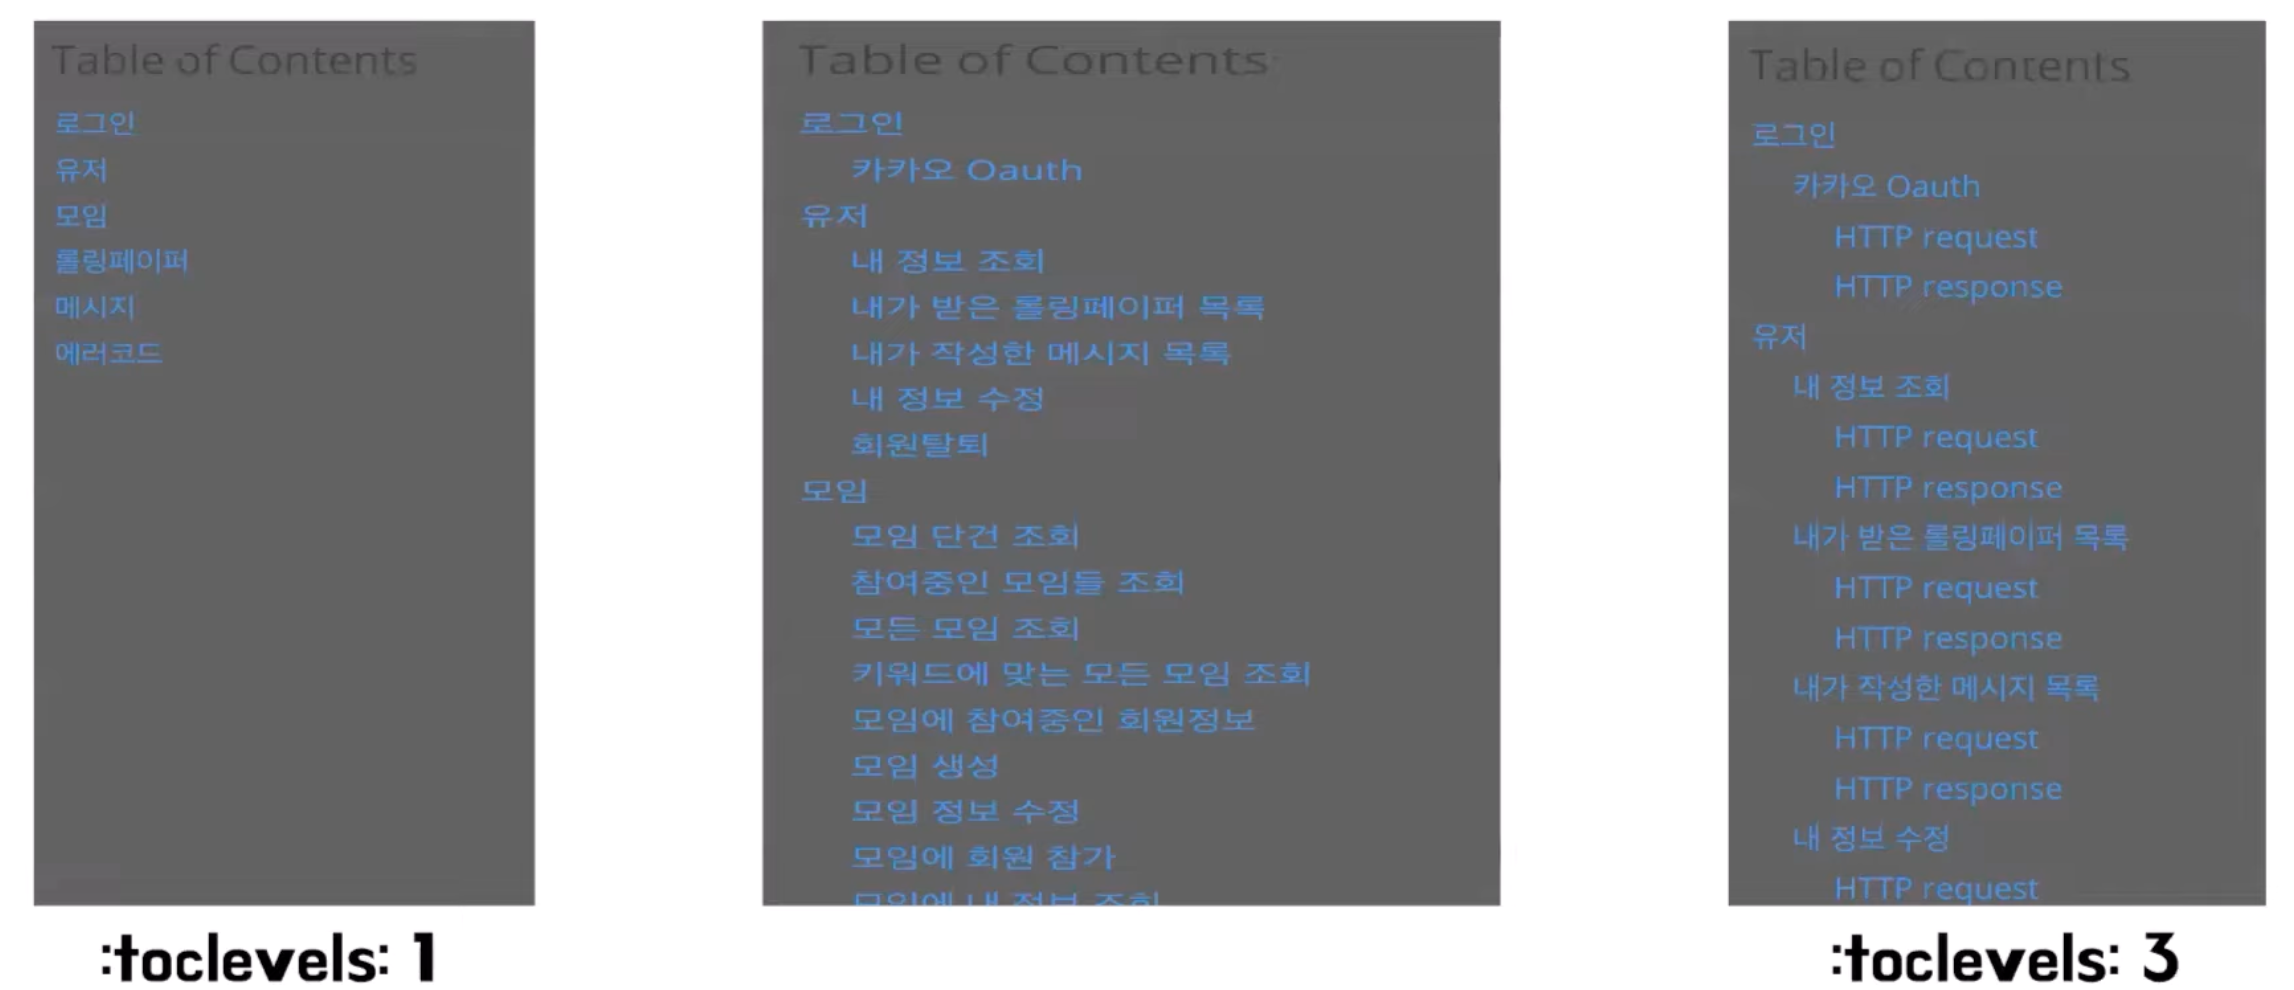
4. :toclevels: 2
3번 사진에 로그인 안에 카카오
JWT TEST 안에 메뉴 이런식으로 인덴트가 2번 까지 된다는 말이다
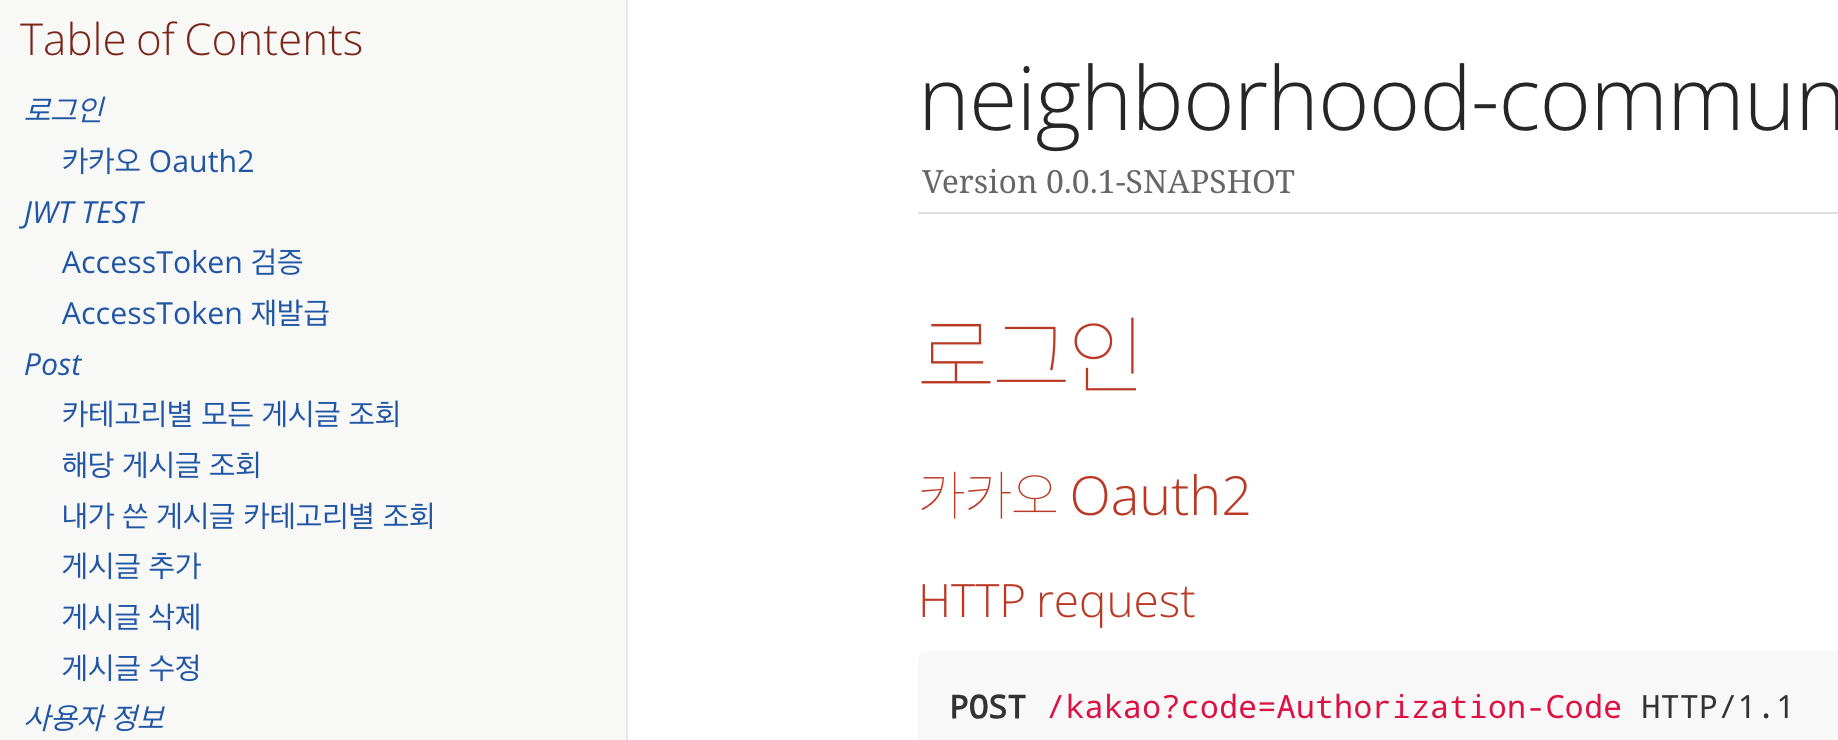
5. :sectlinks:

제목을 빨간색으로 설정하고 링크 옵션을 걸어주는거다
6. include::

index.adoc에 include를 설정하면 다른 adoc 파일의 내용을 가져올 수 있고 메뉴에도 표시가 된다
이런식으로 사용을 하면 된다.
나머지 문법은
https://narusas.github.io/2018/03/21/Asciidoc-basic.html
Asciidoc 기본 사용법
Asciidoc의 기본 문법을 설명한다
narusas.github.io
여기서 확인 해보면 될거다